By Kara Kimbrough
This isn’t an essay on rising food prices. For one thing, it’s not fair to pick on one area when costs are skyrocketing in almost every segment of the economy. However, it's a fact that food prices are climbing. The rising cost of bread is part of the equation. I’ve found a way to counteract this disturbing trend: make your own. With my simple recipe (or a bread machine) it’s easier than you might think.
First, there’s one exception to my new plan. I refuse to give up store-bought Ezekiel 4:9 Bread. It’s my bread of choice for morning toast (covered in my homemade jelly, of course) and a quick snack throughout the day. Found in the freezer case, this amazingly healthy and tasty bread is crafted in the likeness of the Scripture verse Ezekiel 4:9 - "Take also unto thee wheat, and barley, and beans, and lentils and millet, and spelt and put them in one vessel…"
Made with six grains and legumes, each slice is also packed with amino acids, fiber and other vitamins. And it still manages to taste good without flour, GMOs, sugar or other artificial additives or preservatives. Yes, it’s a little pricey, but I consider the splurge on something this healthy (and good) to be well worth the extra cost.
However, I draw the line at paying $3 (or more) for a simple loaf of bread often lacking in taste and any nutritional value. When prices began rising a few weeks ago, my search for a bread machine in stores and online began. Unfortunately, I gave mine away years ago in a purging spree I’ve since regretted. I quickly realized that thousands of other Americans are also looking for bread machines, creating ridiculous prices even on models that appeared to be past their prime.
As a result, finding an easy-to-make bread recipe was vital. One of the prevailing comments from many of the cooking and frugal living sites I follow is that homemade bread is too time-consuming and in the case of those with arthritis and other ailments, difficult due to the kneading process. Luckily, I found a recipe for a quick homemade bread with a kneading time that should be doable for most.
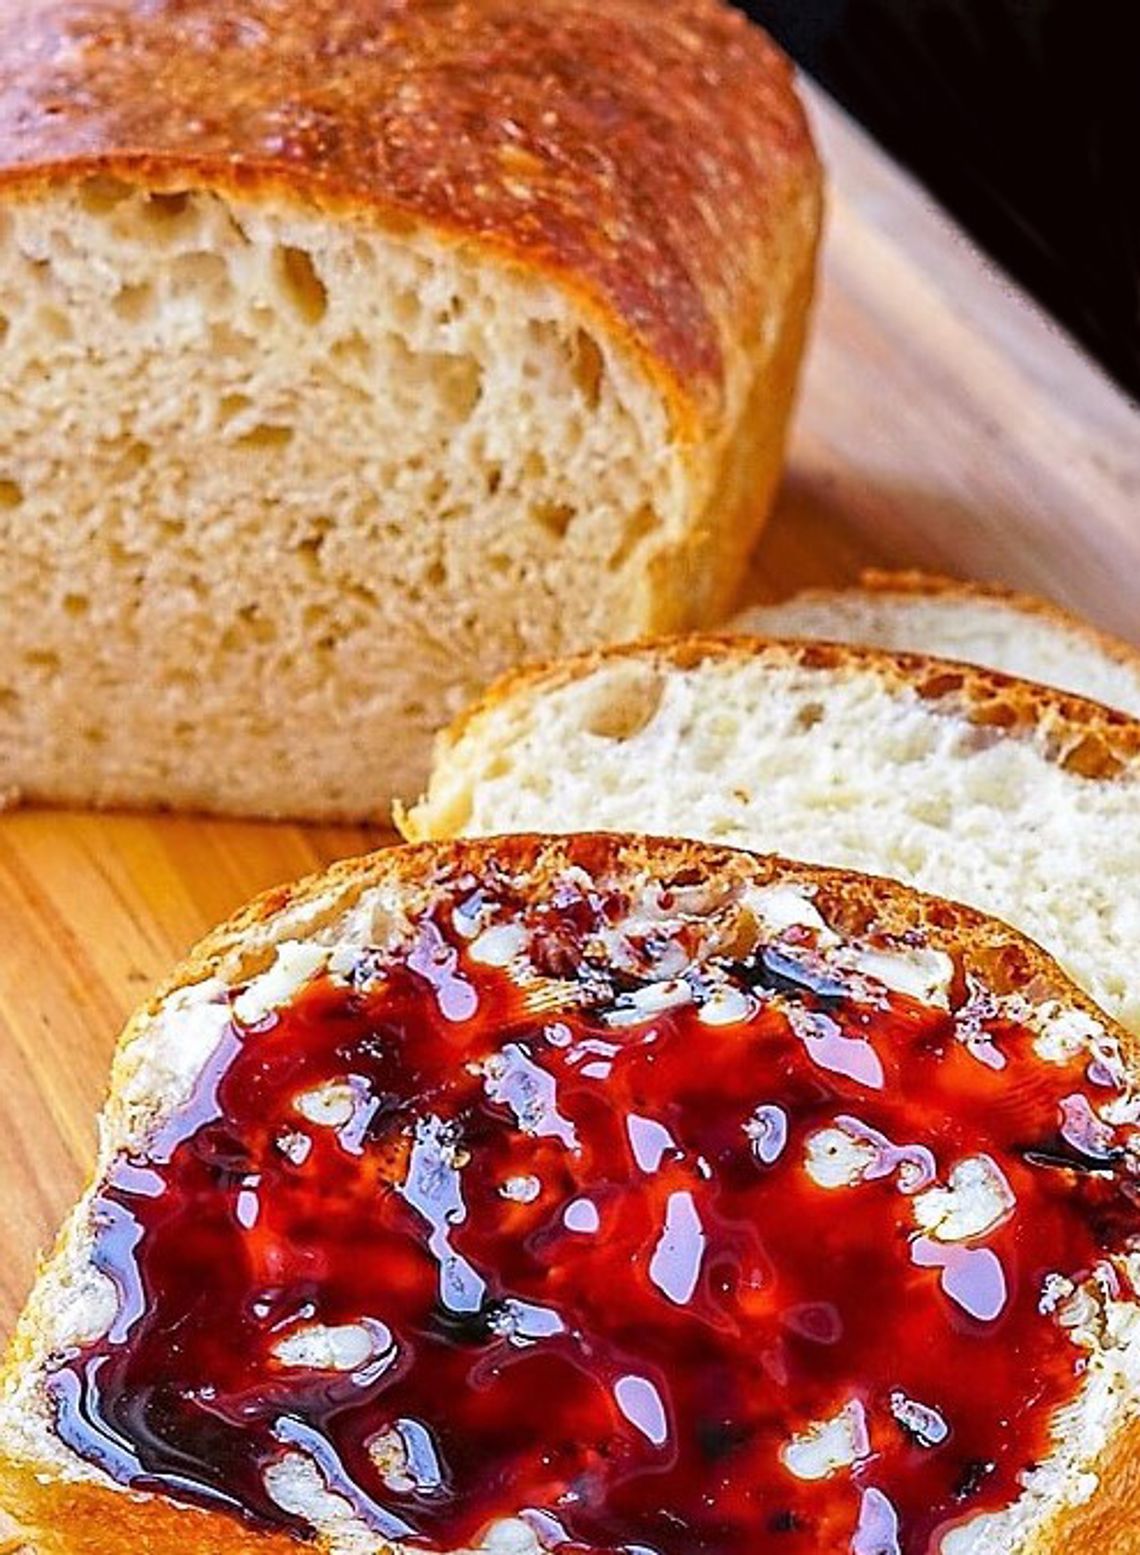
Cooked in an enclosed Dutch oven, the bread emerges with a delicious, crispy crust and soft interior due to the steaming process that occurs inside the heavy pan. The recipe results in a flavorful bread that should please even the pickiest eater. But, word of caution: it won’t resemble smooth bread maker-bread or store-bought. Bottom line, it may not be Instagram-worthy.
The good news is, it’s filling, healthy and when topped with butter and toasted or covered with homemade jelly, results in a delicious breakfast treat or covering for your favorite sandwich ingredients.
Inflation 2022 Homemade Bread
3 cups bread flour (can substitute all-purpose, but use bread flour if you can find it)
2 teaspoons coarse kosher salt
2 teaspoons dry active yeast
1-1/2 cups warm water (use thermometer to make sure it reads 104 degrees (or very close to this before adding)
Lightly grease a glass bowl and mix all ingredients together. Place dough on a floured surface and lightly knead for a few minutes (preferably at least 10) then gather sides to the center to form a ball. Place back in the glass bowl, cover with a clean cloth and let rise for three hours.
Preheat oven to 400 degrees; 30 minutes prior to cooking, place Dutch oven in oven to get warm.
Place dough on a large piece of parchment paper (not wax paper) and place both paper and bread in the Dutch oven. Cover with lid and bake for 30 minutes. Remove cover and bake for 15 additional minutes.
Remove, cool and slice!
Tips:
1. To test if bread dough has been kneaded enough, tear a piece off and stretch it out. It should be strong, soft, elastic and smooth. It should not rip at the first instance of stretching. If it is not ready, knead again for another 3 minutes and try again.
2. After letting dough rise, poke the dough with a wet finger. If it springs back immediately, give it longer to rise. The dough is ready when the poke leaves an imprint that stays for 3 seconds before it bounces back.
Kara Kimbrough is a food and travel writer from Mississippi. Email her at [email protected].
.png)

Comment
Comments